.png)
How to make "Cinnamon & Honey Oatmeal" Soap Bar
- Aug 31, 2022
- 3 min read
Updated: May 12, 2023
This Soap Bar is inspired by sweet winter mornings. Those mornings when you take time to warm up your energy and your body to slowly prepare for the day. For me, this comes just after a yoga class on Youtube by Alo Yoga when i go to the kitchen to prepare my favourite breakfast: Oatmeal with Honey and Cinnamon.
This nourishing Soap formulated is perfect for your morning face wash. The 100% pure oil blend is made for softening, the cinnamon in bubbles to naturally deep cleanse your pores and warm up your senses and the honey to nourish your skin after the routine.

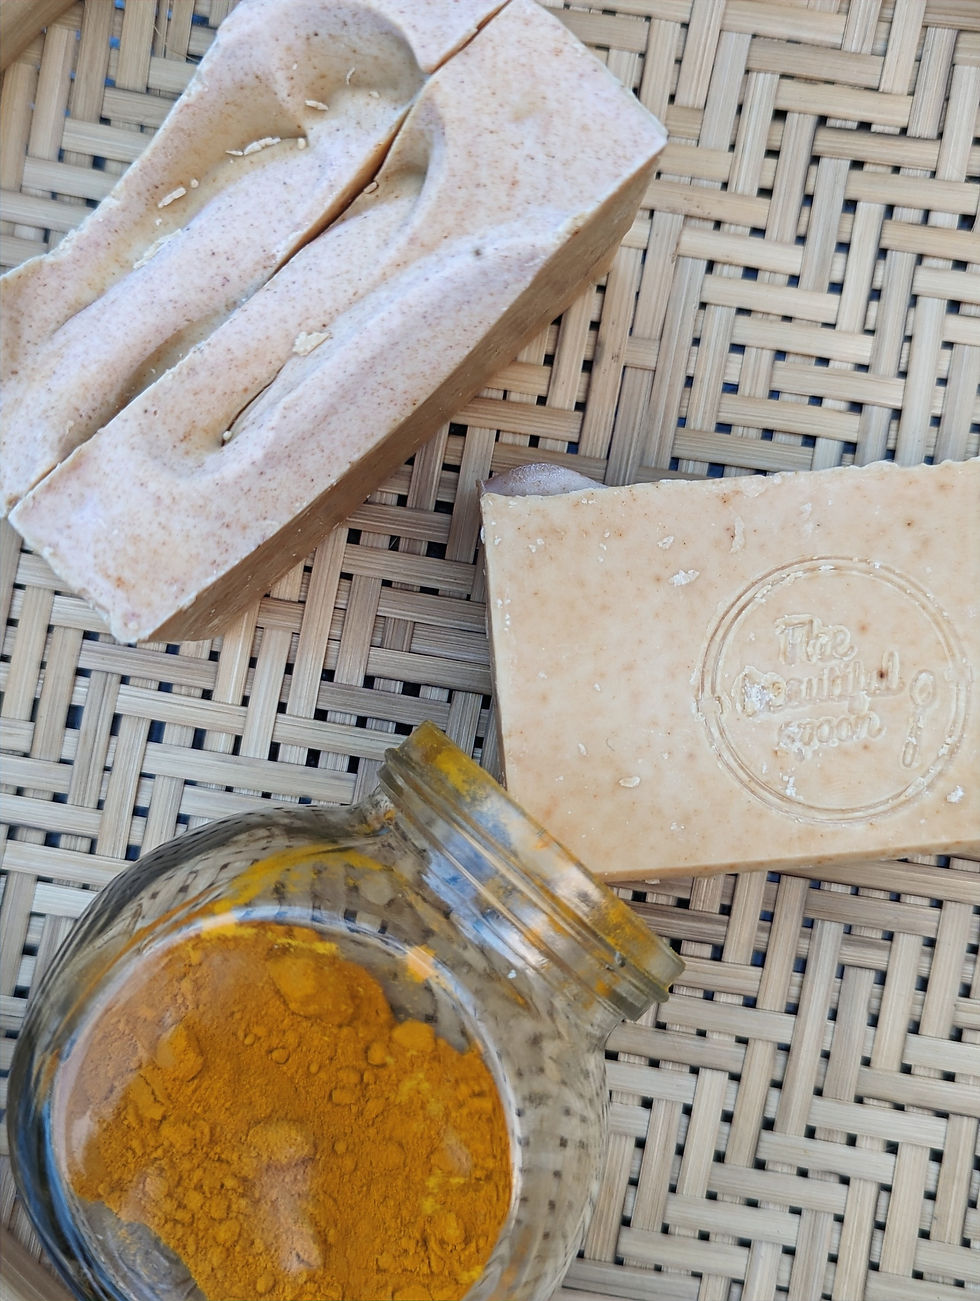
Gentle & moisturising Soap, Beautifully cooked in my kitchen. 100% Natural 0% Nasties.
The Recipe for About 4 Cinnamon & Honey Oatmeal Soap Bar of 80gr:
Oils & Butters:
100% Olive Oil - 200gr
Lye Solution
Lye - 26gr
Unsweetened Oat milk (or Homemade Oat milk) - 62gr
Additives:
Organic Honey - 1 Tbs
Cinnamon powder - 1 TbsStep 1: How to Identify if a brand is sustainable?
Before You start
Cold process Soap making requires important safety procedures along the different steps. Please check them out before trying. There is a great guide I suggest you to check out ("How to Make your first batch of Soap" by Royalty Soap).
Always use gloves and eye protectors along the process, be safe <3
Now that you are set to be safe, let's start our recipe !
Step 0: Prepare Your Oat milk
Freeze your Oat milk. Using a frozen Oat milk will prevent the solution
to scorch due to the increased temperature that the lye will generate at contact with the liquid.
Step 1: Prepare your Lye Solution
Prepare your Lye solution (always sprinkle lye over water and never the contrary since it might splash out of your container). At contact, the solution will raise suddenly its temperature to up to 90 °C. Leave it aside to cool down until it reaches a temperature of about 30 °C.
Step 2: Prepare your oils
While your lye solution is cooling down, measure out the olive oil. Since this oil is already liquid you will not have to melt it. However, you might need to wait a bit more for the lye solution to reach the same temperature. Use a laser or kitchen thermometer to check this. At this point you should, instead, start melting the honey so that it is not too hot when you will have to pour it inside the solution.
Step 3: Pour your Lye solution into your Oils
Pour the lye solution inside the oil and mix it with a plastic tool (never use aluminium or steel since this might react with the free lye). You can use stainless steel though.
Step 4: Blend the Ingredients
Use a blender to mix the ingredients until your solution becomes cloudy (always be careful with the blender, immerge it well to avoid splashing). Blend for at least 60 seconds with circular, never vertical, movements to avoid air to be captured by the solution (air tends to create not aesthetic bubbles in your final soap) .
Step 5: Add your additives
Once the mixture has reached trace (it will look cloudy and well mixed together, like the picture here below) add the Honey and half of the cinnamon (the rest will be for topping). Blend again the solution with a mixer.

Step 6: Almost Done...pour your soap into a mould & decorate
Pour your soap into a muffin silicone mould & sprinkle some cinnamon on top to decorate it (Get creative!). I do not recommend using the rigid one since un molding could be difficult and your soap risks to crack. In this case you should layer your mould with baking paper. Once the soap is inside the mould, wait for 3/4 minutes for the solution to start thickening and then sprinkle the rest of the cinnamon powder on top.
Step 7 : Saponification time & Gel Phase
The sugar in the honey will react with the lye provoking a temperature rise during the gel phase. This might change the colours of your additives. To avoid this, put it into the freezer for the next 24h.
Step 8: Un moulding (my favourite part !)
After 24h hours, you can take out your soap and let it cure again for 24h. The soap needs a total of 48h curing in order for your lye solution to disappear completely into the reaction with oils and for the soap bars to be safe to touch without gloves.
After 48h you can un mould your Soap Bars and leave them curing in a dry place far from light and heat. I suggest you leave them curing from 4 to 6 weeks to allow the leathering power to increase and the bars to become more firm and durable.
If you likes this recipe or discovered new ways of improving it, comment below :)
With a lot of Morning cuddles <3
Claudia
The beautiful spoon


Comments